
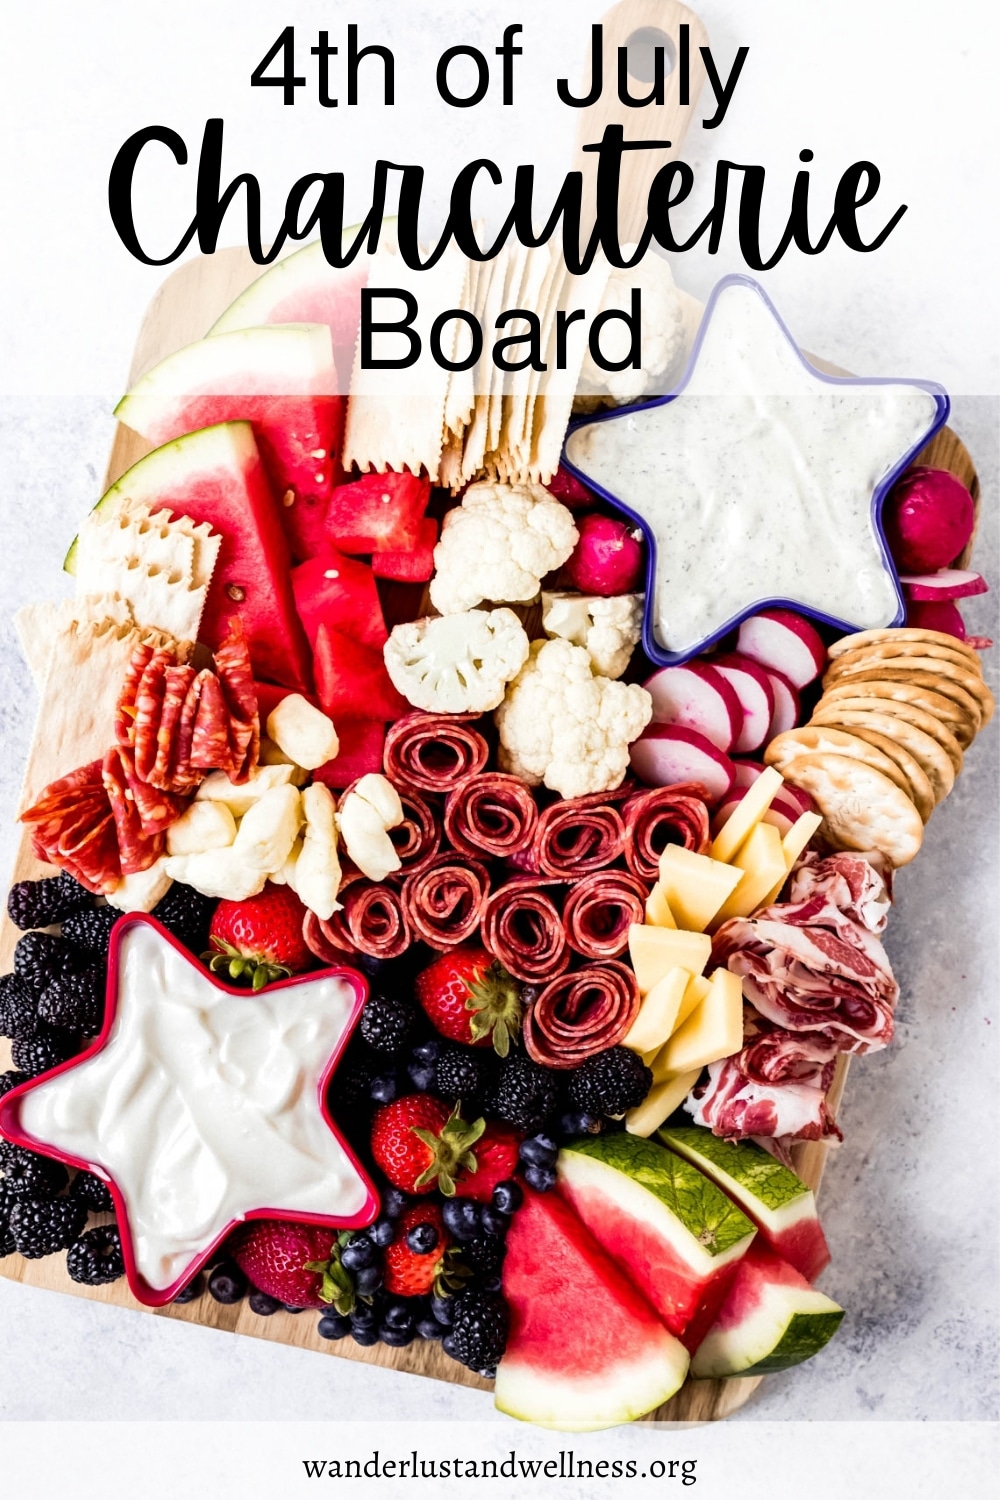
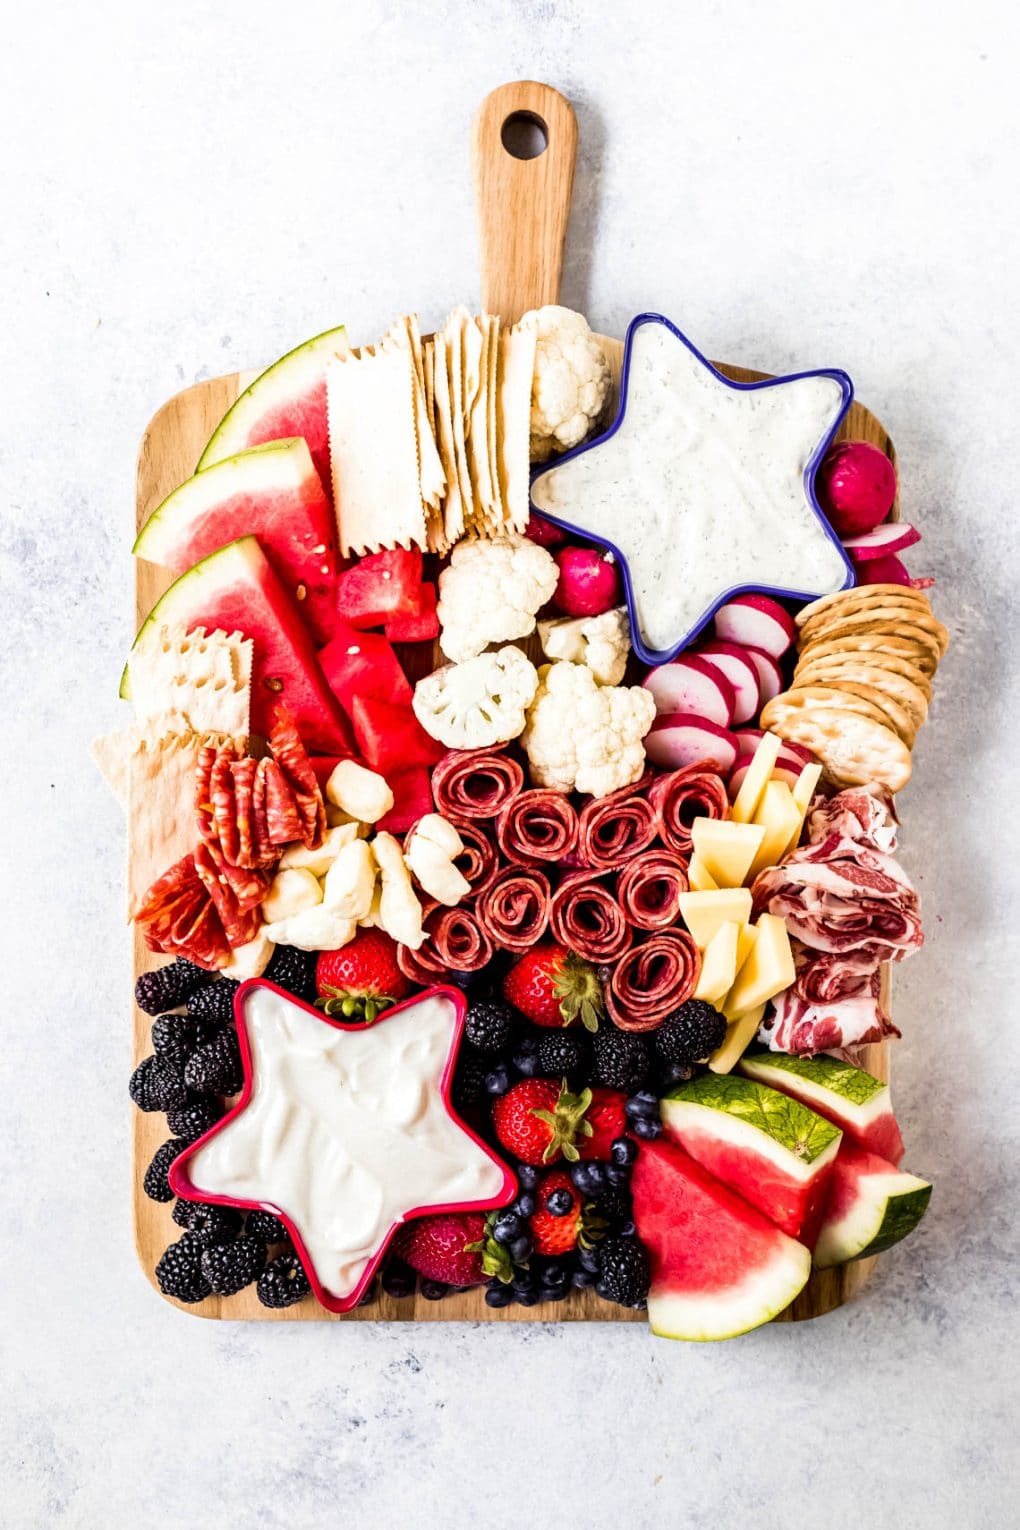
Everyone loves Charcuterie Board ideas. This 4th of July Charcuterie Board is one of the best ways to kick off a fun 4th of July Celebration. Check out these easy step-by-step directions below. Then, check out these charcuterie board ideas for any time of the year.
There is always a reason to have a charcuterie board! But do you really know how to make one? Finding out the right ratios of meat and cheese are important but with enough practice, you’ll get it down perfectly. Below are a few tips to keep in mind when making your charcuterie board.
- Choose 2-3 types of meat – all different types
- Choose 2-3 kinds of cheese – all types and flavors
- Choose 2-3 seasonal fruits – seasonal fruit and dried fruit
- Choose 2-3 types of spreads – savory, salty, and sweet
- Choose 2-3 types of crackers, chips, or bread
- Choose 1-2 extras to fill in and garnish your board – chocolate, nuts, fresh herbs, flowers
How much should you have per person?
It’s best to remember:
- 3-4 slices of meat per person
- 1-2 ounces of cheese per person will do
What are the best meats for a Fourth of July Charcuterie Board?
- Ham
- Salami
- Capicola
- Sopressata
- Turkey
- Calabrese
- Pepperoni
- Chorizo
- Bacon
What type of cheeses should you put on a charcuterie board?
- soft cheeses like Brie
- aged cheeses like cheddar
- Blue cheese
- Gouda
- Burrata
- Camembert
- Goat
- Stilton
- Pepper jack cheese and Colby Cheeses
How to prep cheeses
It’s really a blank canvas when it comes to prepping the board. The one thing that I do think is important is that you cut the cheeses with the same size and consistency.
The whole point is to be able to grab and eat so anything too large and it’s going to be awkward.
You can try your artistic abilities and create cheeses in shapes if you’d like!
How to Decorate a Charcuterie Board
Wanderlust and Wellness participates in the Amazon affiliate program. Please see my affiliate disclaimer. As an Amazon Associate, I earn from qualifying purchases.
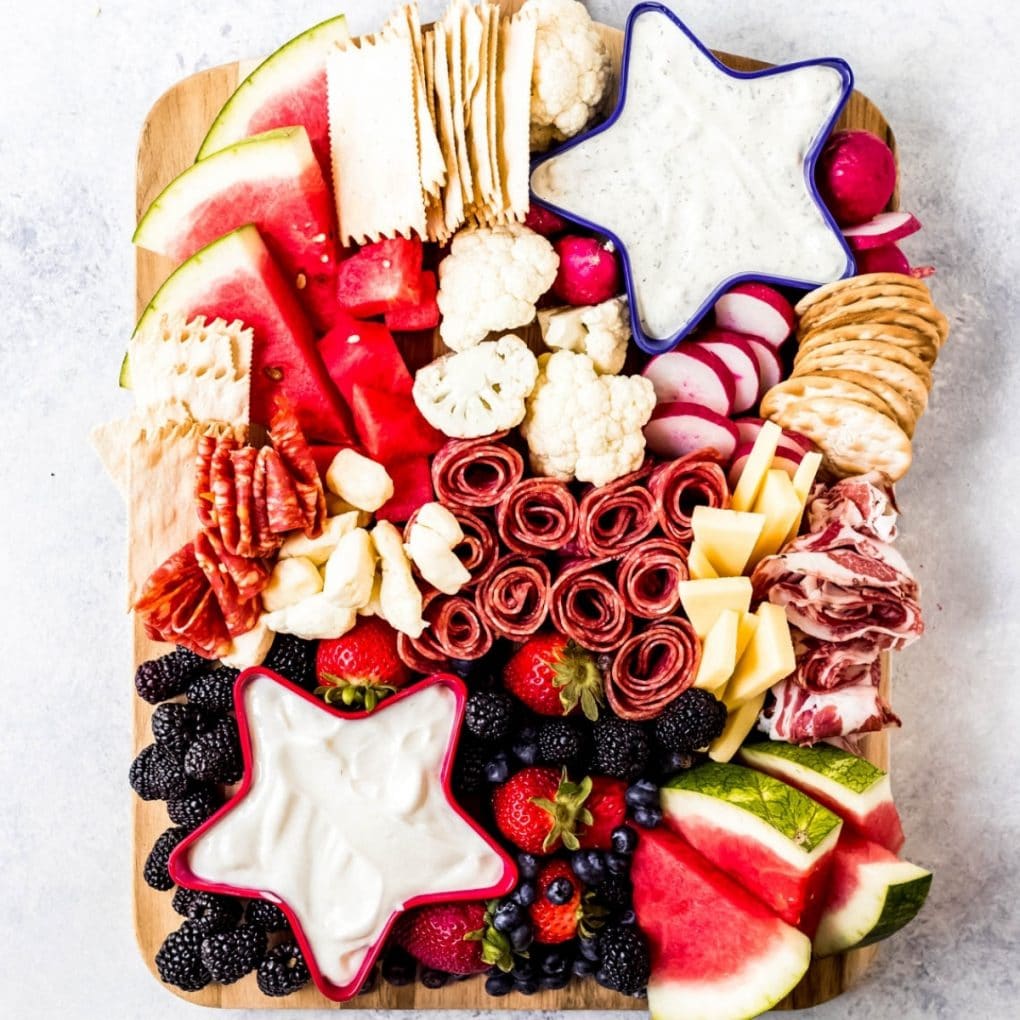
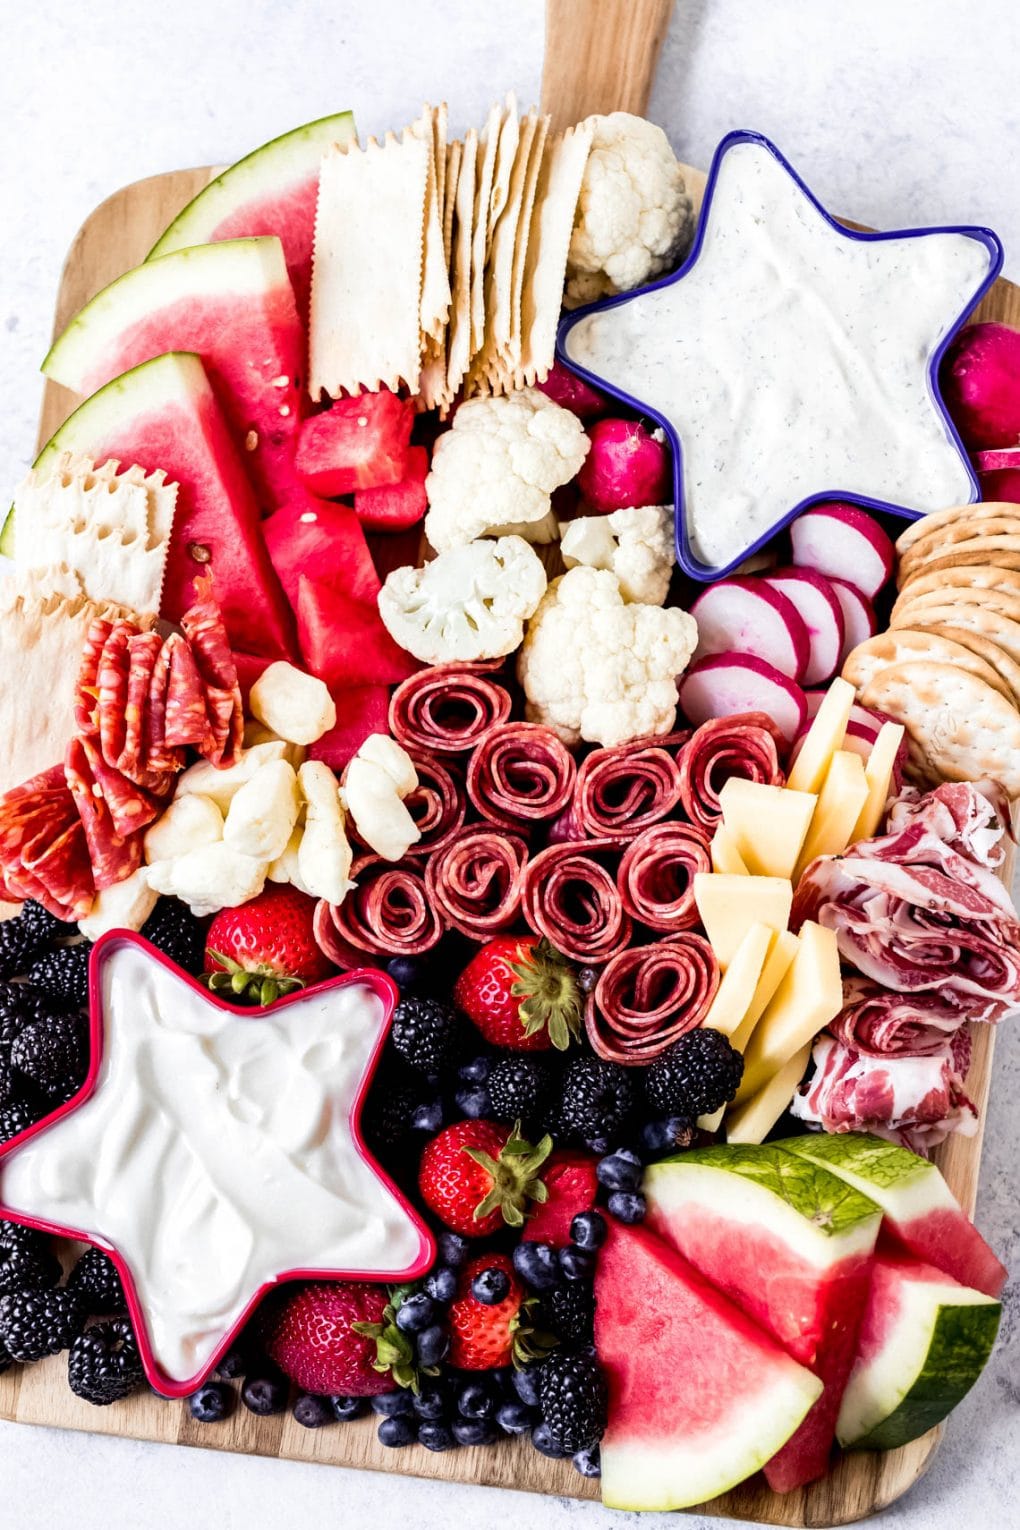
The way that you decorate the board is up to you. With this charcuterie board having a mixture of meats, fruits, and cheeses, it’s important to keep the fruits together in case juice does happen to leak out. Add in festive bowls for your dips that show off your 4th of July flair!
How do you make a charcuterie board step by step?
- Choose the right size board for your need. You can use large cutting boards, slate boards, or large marble or ceramic platters.
- Be as creative as you want and make a plan on how you’re going to add everything onto the board.
- Cut and add the cheese.
- Place the fruits that are sliced and cleaned next to the edge of the board.
- Add the meats and veggies throughout.
- If there are gaps, fill with cheese, meat, chocolate, crackers, etc.
- Right before serving, adding any dips or spreads.
- Serve and enjoy!
Recipe FAQs and Notes
How many people will a charcuterie board feed?
It will feed as many people as you want so get the right sized board. For 2-4 people, a small 12-14 inch round board is perfect. For a party, a larger round board or large paddle-style board will be needed.
Is it hard to make a charcuterie board?
Absolutely not. It’s a blank canvas. You get to create it however you want – and that’s the fun part!
Must-Have Items for your Charcuterie Board
Need a few items? Check out these options below.
Check out these additional charcuterie board ideas!
- Thanksgiving Charcuterie Board
- Fall Charcuterie Board
- Holiday Charcuterie Board
- Wild Game Steak Graze Board
Great appetizers for charcuterie boards!
4th of July Charcuterie Board
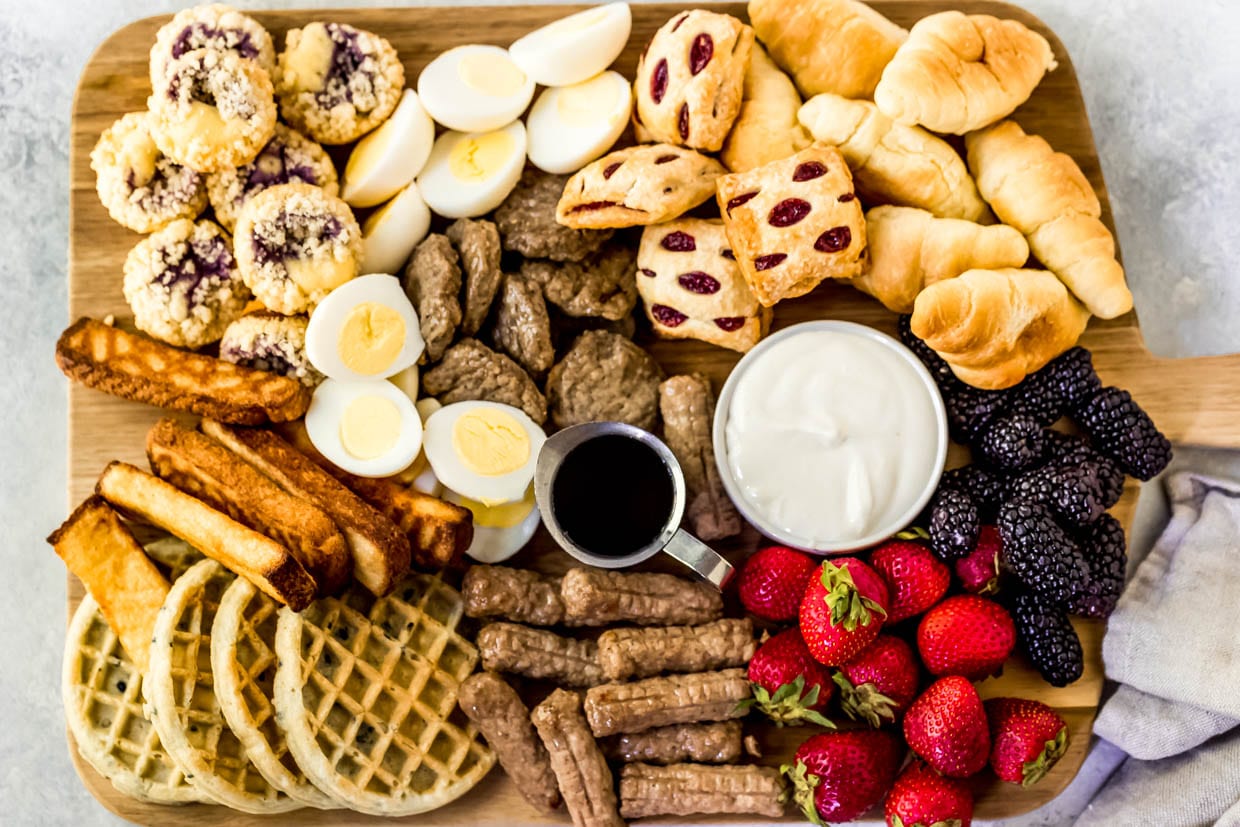
Brunch Charcuterie Board
This is the perfect red, white, and blue Charcuterie board!
Ingredients
- any type of meat
- any type of cheese
- fresh fruits
- dried fruits
- spreads and dips
- crackers, bread, chips
- chocolate
- nuts
- pastries
Instructions
- Figure out the type of board that you want to use. Options include large cutting boards, slate boards, or large marble or ceramic platters.
- Let your creativity flow!
- Add the cheeses and the crackers.
- Add the meat and tuck the meat into nooks and crannies as well.
- Add the fresh fruit.
- If there are gaps, add nuts, chocolate, or more!
- Add the spreads right before serving.
- Serve and enjoy!

Jennifer is the recipe developer and food photographer behind Wanderlust and Wellness since 2016. She creates easy, approachable gluten-free recipes for the everyday home cook; because cooking gluten-free doesn’t mean food has to be complicated or tasteless.
Leave a Reply