
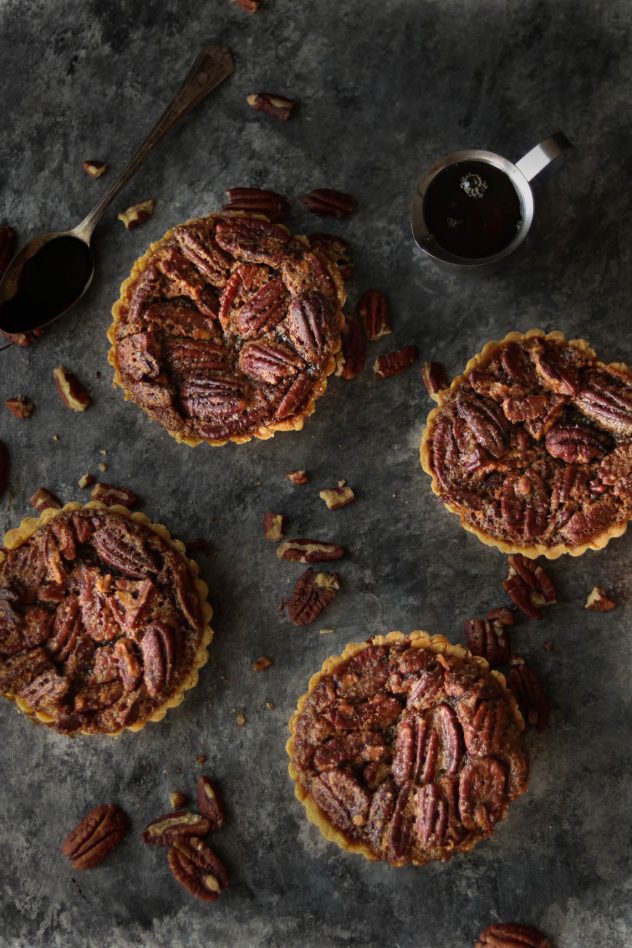
Pecan pie mini-tarts are a delicious single serving-size dessert with all of your favorite pecan pie flavors. Your guests will love these simple yet elegant individual pecan pies this holiday season. They’re a fun addition to your traditional Thanksgiving recipes!

Pecan Pie Mini-Tarts
My absolute, all-time favorite holiday dessert is pecan pie. I think that’s why the Universe made me allergic to all nuts EXCEPT pecans, so I could fully appreciate and savor the deliciousness that is known as pecan pie. What’s even better than a pecan pie?? My very own mini-pecan pie!
Ingredients needed:
To make these pecan pie mini-tarts, you’ll need the following ingredients:
- 2 cups flour
- 1 1/2 tsp salt – divided
- 1/2 tsp baking powder
- 2/3 cup shortening
- 6-7 tbsp cold water
- 3 eggs
- 1
cup sugar - 2 Tbsp. unsalted butter – melted
- 1 tsp. pure vanilla extract
- 1 cup pure maple syrup
- 1 Tbsp. molasses
- 1 1/2 cup pecans
How to make pecan pie mini-tarts
- Preheat oven to 350 degrees F
- In a large bowl, combine the flour, 1 tsp. salt, and baking powder.
- Using a pastry cutter or fork, cut in the shortening until the mixture becomes crumbly. You don’t want large chunks of shortening; the texture will be similar to sand.
- Stir in cold water. Start with 6 Tbsp. of cold water and begin mixing until dough forms. If it appears too dry, add in a slight bit more cold water but you don’t want the dough to be too wet.
- Then, form dough into 4 equally sized balls, wrap in plastic wrap and place in the refrigerator to chill for 10 minutes.
- In another bowl, add the eggs and whisk, then stir in the remaining pie filling ingredients – 1/2 tsp. salt, sugar, melted butter, pure vanilla extract, pure maple syrup, molasses, and pecans.
- Remove dough from the refrigerator. Layout one sheet of parchment paper and dust with flour. Place one of the dough balls onto floured parchment paper. Place another sheet of parchment paper on top and, using a rolling pin, roll out crust until you have about a 5 in. circle.
- Lay the individual tart pan onto the dough and cut out a circle one inch from the sides of the pan.
- Carefully place the crust into the tart pan and gently push the sides until the crust firmly covers the entire inside of the tart pan, with no gaps between the crust and the pan. Remove any extra crust from the edges. (Tip: If you roll the rolling pin along the edges of the tart pan it will perfectly remove any excess crust)
- Continue this process for all four tart pans. Place tart pans onto a baking sheet.
- Stir the filling, then pour into the four tart pans, filling to the top.
- Cook for 45-50 minutes. Remove from the oven and let cool.
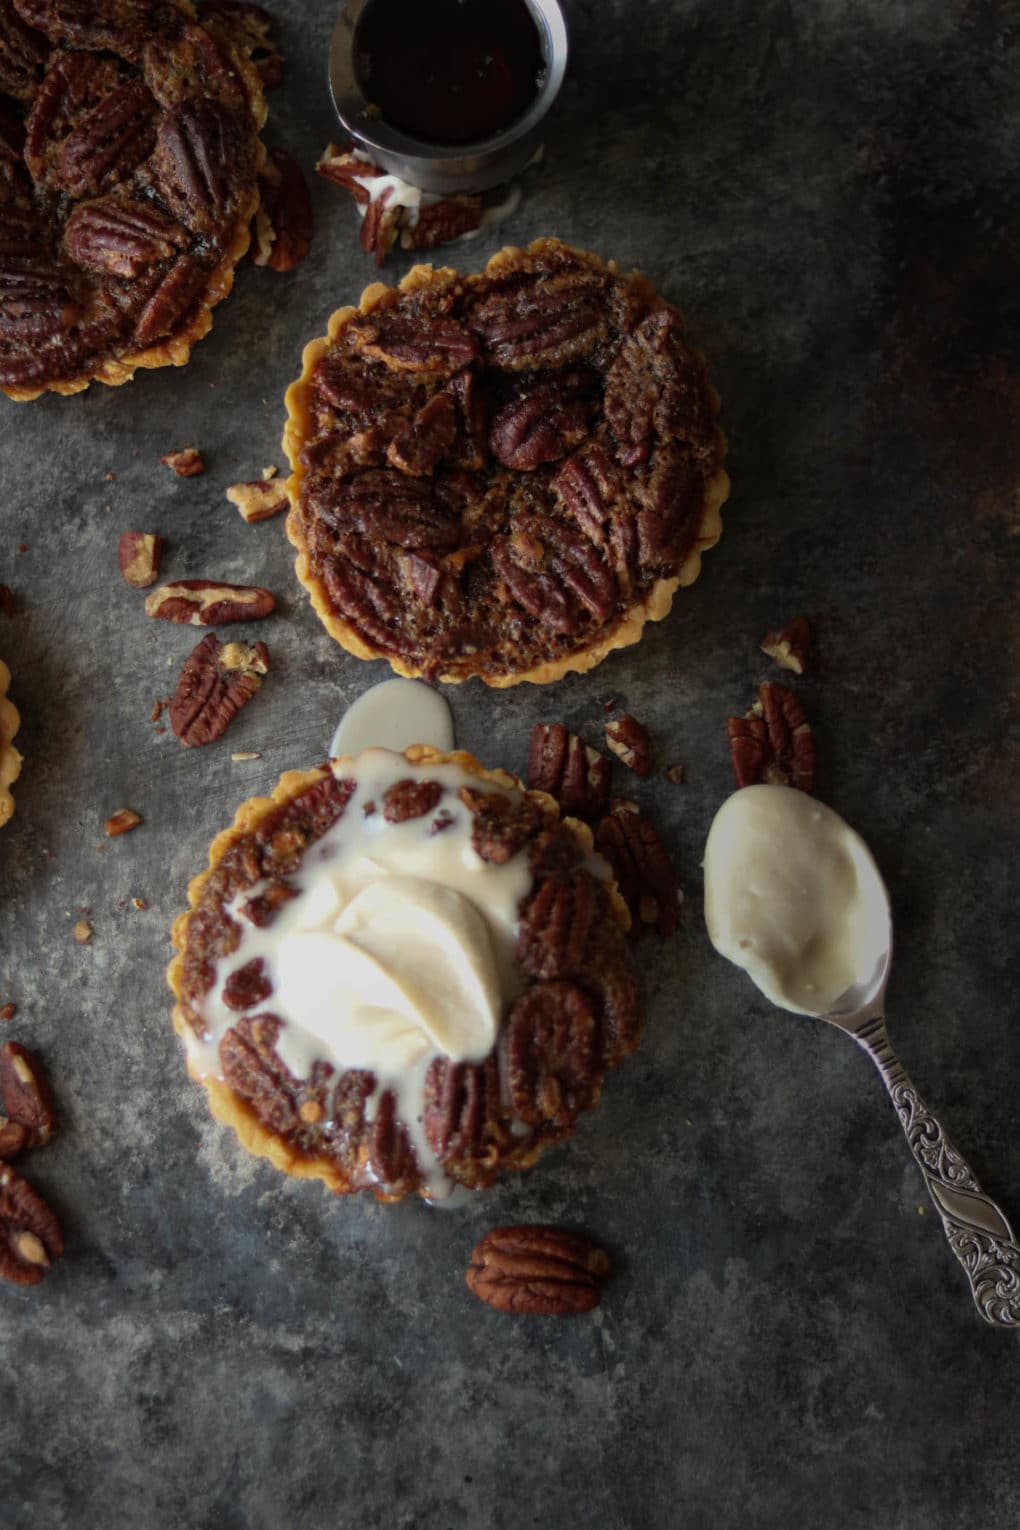
- Serve with your favorite whipped topping or ice cream.
Recipe FAQs and Variations
How do you know when pecan pie is done?
To check your pecan pie, it should have a nice caramelized dark brown top, and the filling should have a jiggle to it but not runny. Give it a little shake, using hot pads, of course, and check to make sure it has structure and a jiggle but not running. You can also try the knife test with the knife coming out clean from the center of the pie.
Can pecan pie be left out?
Yes, you can leave pecan pie, including these pecan pie mini-tarts out at room temperature for about 1-2 days. If you want to save them longer, you should refrigerate them beyond 2 days.
Is pecan pie served warm or cold?
You can serve pecan pie mini-tarts warm, but they’re best when they’ve fully cooled and set.
Recipe variations
- For a gluten-free version – swap in a 1 to 1 gluten-free flour like Bob’s Red Mill 1 to 1 baking flour.
Recommended kitchen tools for this recipe
Wanderlust and Wellness participates in the Amazon affiliate program. Please see my affiliate disclaimer. As an Amazon Associate, I earn from qualifying purchases.
Enjoy these other individual mini-desserts!
- Gluten-Free Mini Apple Galettes – your favorite apple dessert in a mini-version
- Vanilla Panna Cotta with White Wine Sauce – your guests will love this wine dessert
- Red Wine Poached Pears – a simple yet elegant dessert
- Orange Cranberry Bread Pudding – a fun twist to a classic favorite
Grab a copy of Gather – A Thanksgiving Cookbook to create a memorable holiday meal!
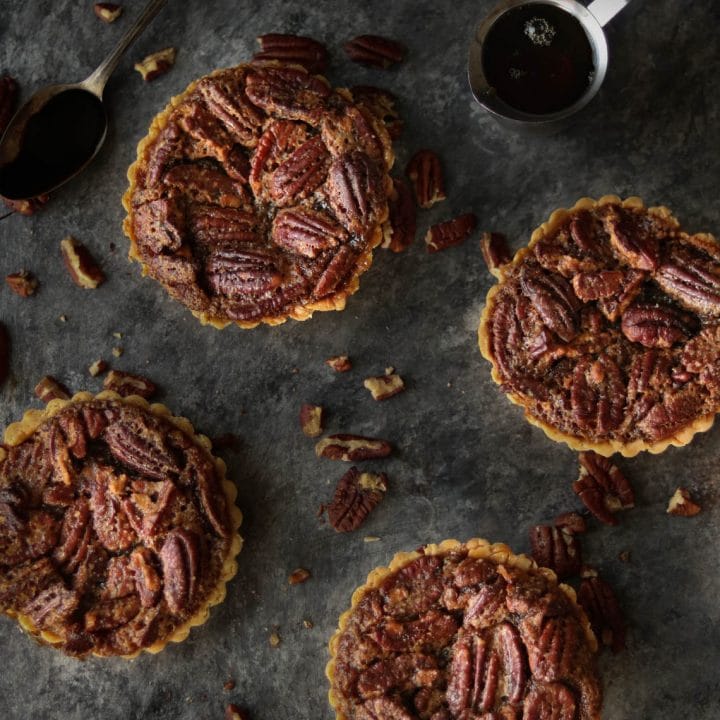
Pecan Pie Mini-Tarts
Pecan pie mini-tarts are a delicious single serving-size dessert with all of your favorite pecan pie flavors.
Ingredients
- 2 cups flour
- 1 1/2 tsp salt - divided
- 1/2 tsp baking powder
- 2/3 cup shortening
- 6-7 tbsp cold water
- 3 eggs
- 1 cup sugar
- 2 Tbsp. unsalted butter - melted
- 1 tsp. pure vanilla extract
- 1 cup pure maple syrup
- 1 Tbsp. molasses
- 1 1/2 cup pecans
Instructions
- Preheat oven to 350 degrees F
- In a large bowl, combine the flour, 1 tsp. salt, and baking powder.
- Using a pastry cutter or fork, cut in the shortening until the mixture becomes crumbly. You don't want large chunks of shortening; the texture will be similar to sand.
- Stir in cold water. Start with 6 Tbsp. of cold water and begin mixing until dough forms. If it appears too dry, add in a slight bit more cold water but you don't want the dough to be too wet.
- Then, form dough into 4 equally sized balls, wrap in plastic wrap and place in the refrigerator to chill for 10 minutes.
- In another bowl, add the eggs and whisk, then stir in the remaining pie filling ingredients - 1/2 tsp. salt, sugar, melted butter, pure vanilla extract, pure maple syrup, molasses, and pecans.
- Remove dough from the refrigerator. Layout one sheet of parchment paper and dust with flour. Place one of the dough balls onto floured parchment paper. Place another sheet of parchment paper on top and, using a rolling pin, roll out crust until you have about a 5 in. circle.
- Lay the individual tart pan onto the dough and cut out a circle one inch from the sides of the pan.
- Carefully place the crust into the tart pan and gently push the sides until the crust firmly covers the entire inside of the tart pan, with no gaps between the crust and the pan. Remove any extra crust from the edges. (Tip: If you roll the rolling pin along the edges of the tart pan it will perfectly remove any excess crust)
- Continue this process for all four tart pans. Place tart pans onto a baking sheet.
- Stir the filling, then pour into the four tart pans, filling to the top.
- Cook for 45-50 minutes. Remove from the oven and let cool.
- Serve with your favorite whipped topping or ice cream.
Notes
- For a gluten-free version - swap in a 1 to 1 gluten-free flour like Bob's Red Mill 1 to 1 baking flour.
- Nutritional Disclaimer

Jennifer is the recipe developer and food photographer behind Wanderlust and Wellness since 2016. She creates easy, approachable gluten-free recipes for the everyday home cook; because cooking gluten-free doesn’t mean food has to be complicated or tasteless.
Leave a Reply