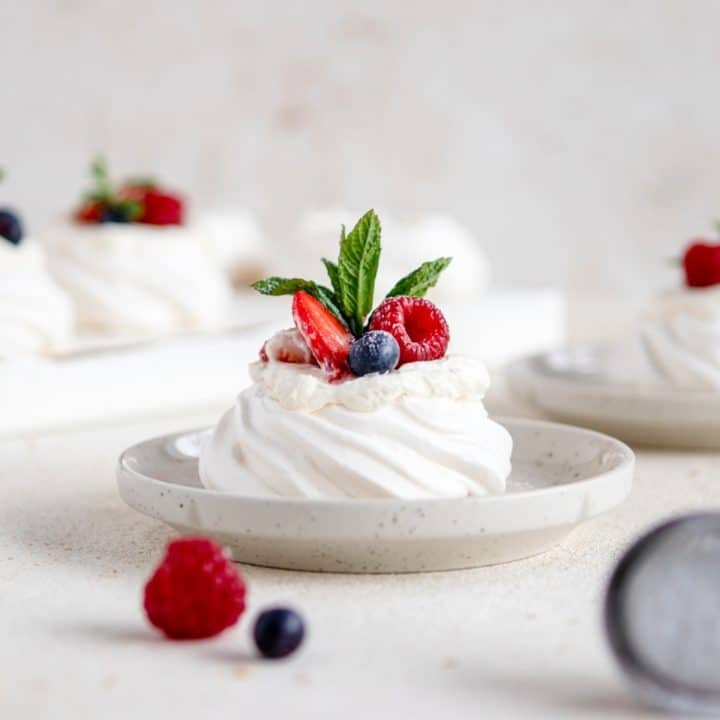
Mini Pavlovas are a gorgeous party dessert; meringue nests filled with fresh cream and berries. Your guests are going to love these mini desserts!
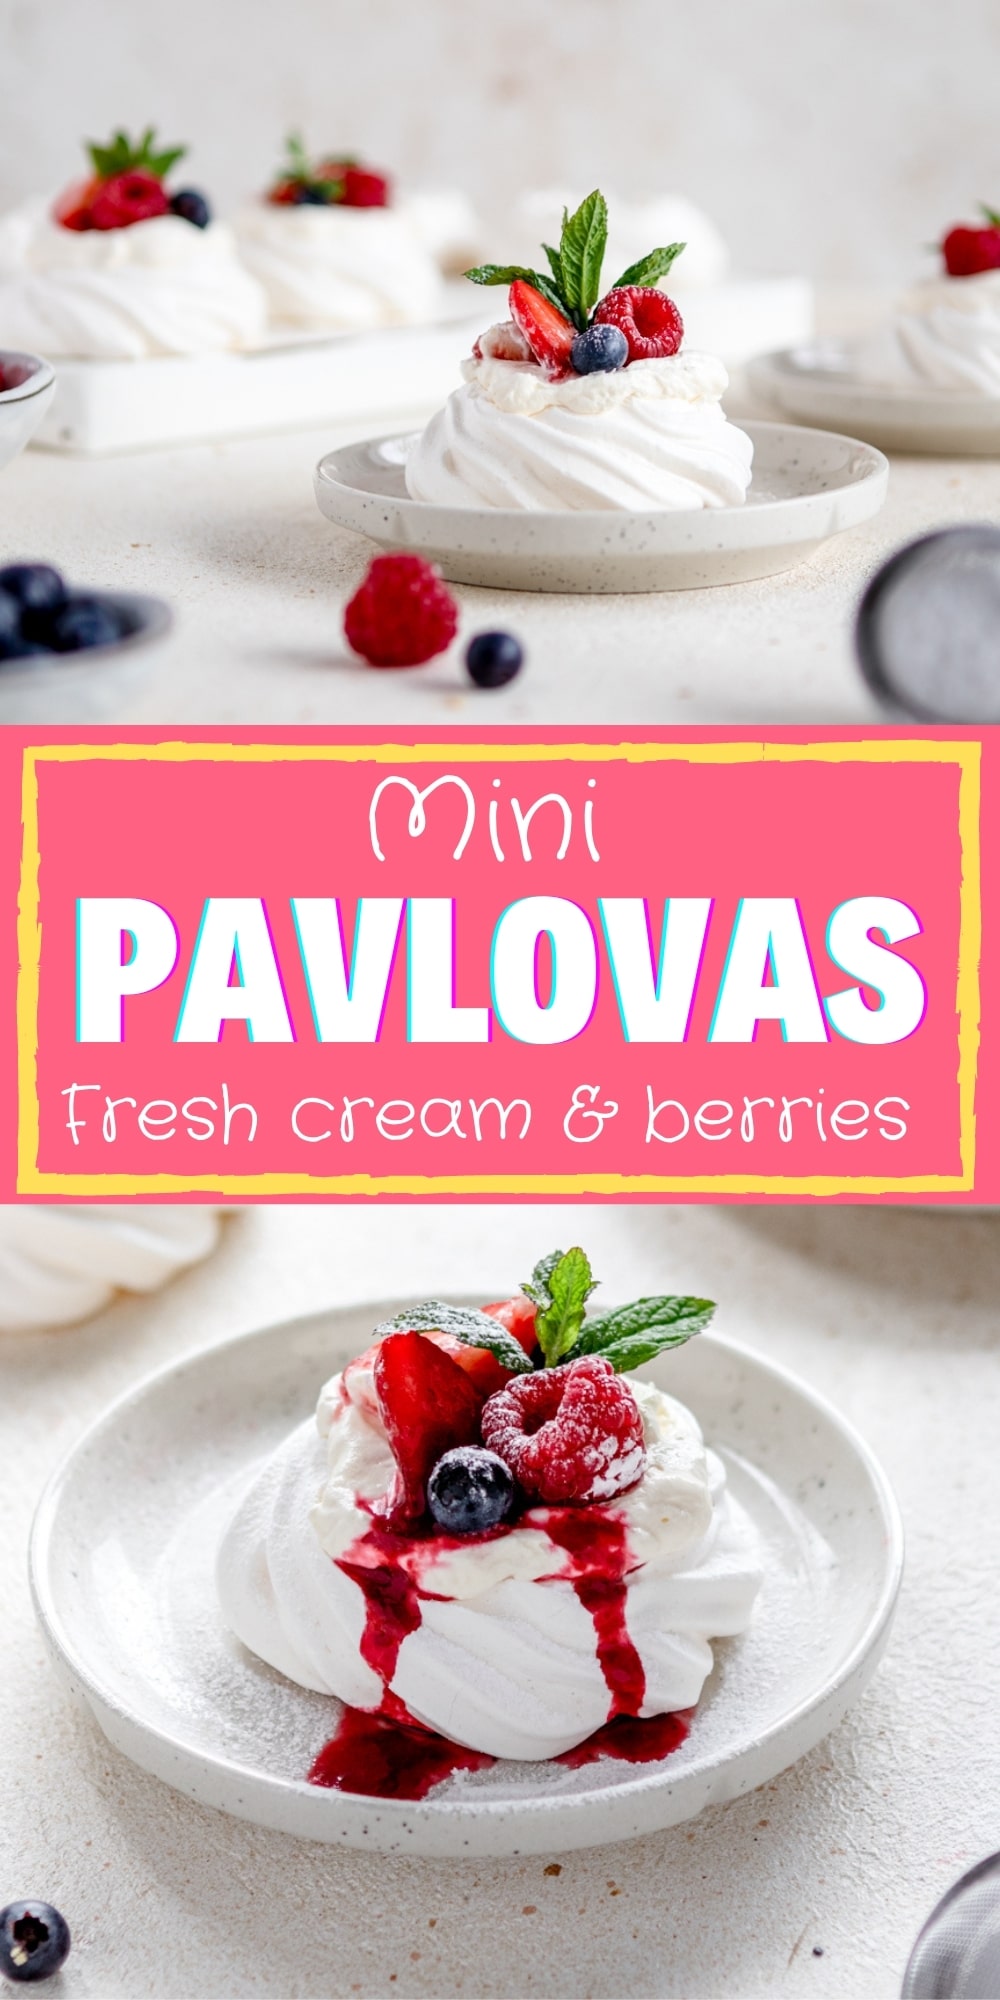
Mini pavlovas are such a simple yet elegant party dessert that your guests will absolutely love. While they may look complicated, I assure you they are simple to make.
Ingredients Needed
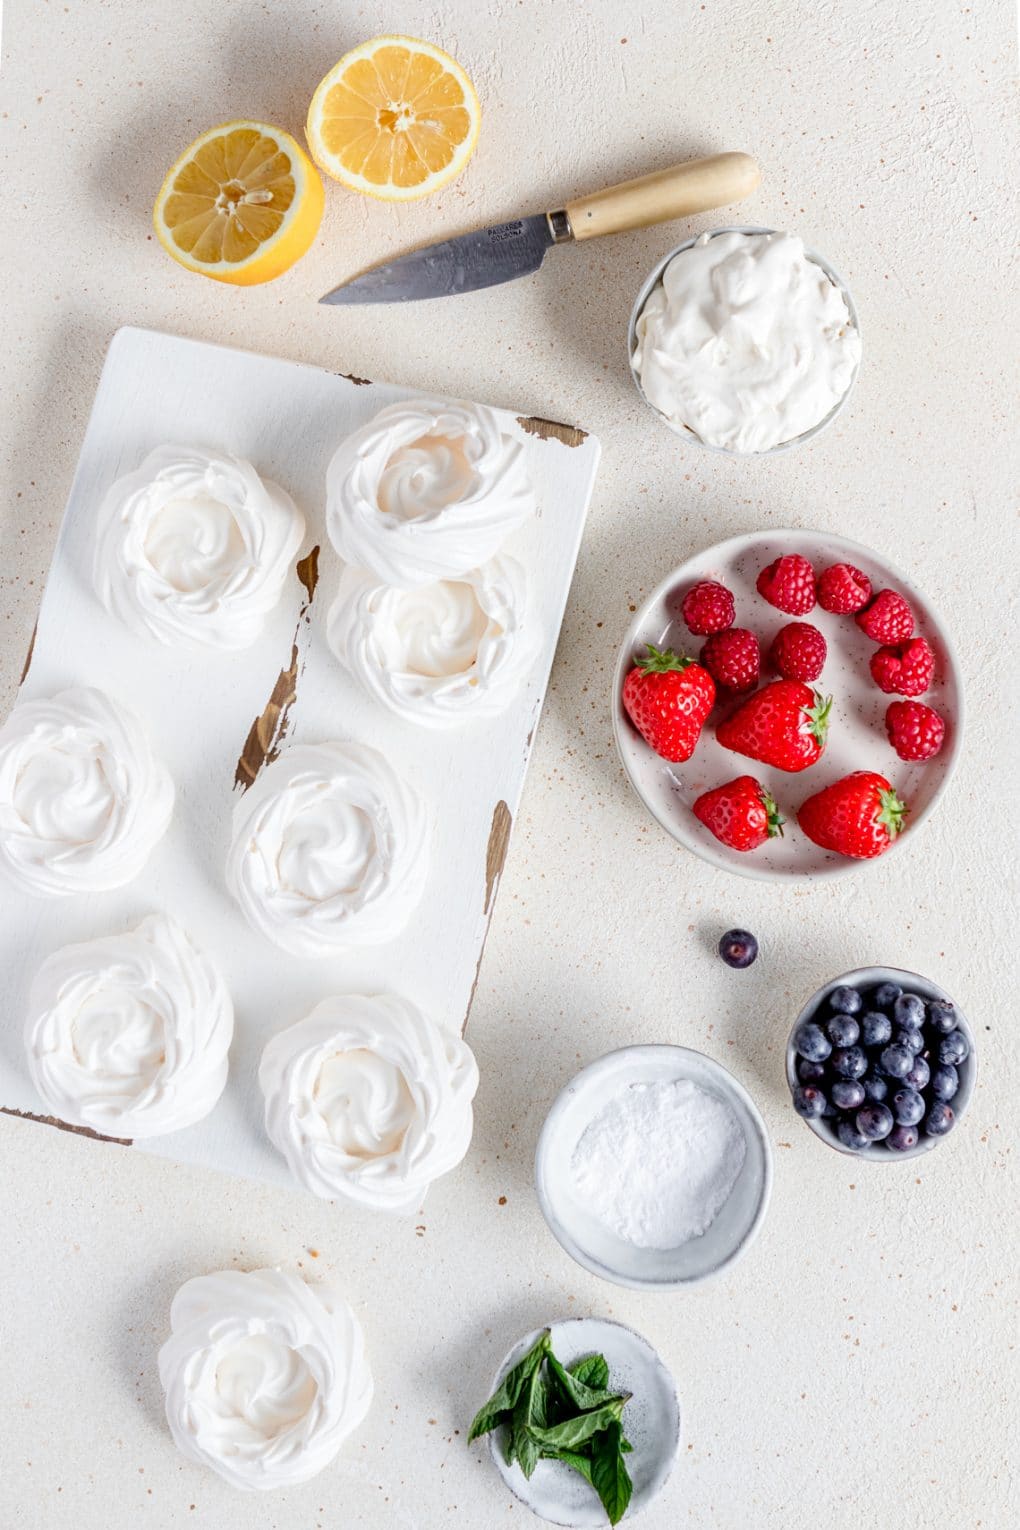
- 6 large egg whites, room temperature
- 1 ½ cups granulated sugar
- ½ Tbsp. lemon juice
- ½ Tbsp. + 1 tsp. pure vanilla extract – divided
- 2 tsp. corn starch
- 1 cup heavy whipping cream – cold
- 2 Tbsp. powdered sugar
- Fresh mint leaves – optional
How to make Mini Pavlovas
- Preheat the oven to 200 degrees F.
- Line a large baking sheet with parchment paper or a baking mat.
- Add the eggs (be sure they’re room temperature) to a stand mixer bowl. Beat the eggs on high for about 1 minute, with the whisk attachment, until soft peaks form. (See notes below if you do not have a stand mixer.)
- Keeping the mixer on, gradually add in the granulated sugar, a little at a time. Once all sugar has been added, mix for 10 minutes at high speed or until stiff peaks form.
- Remove the bowl from the stand. Then, using a spatula, fold in the lemon juice, ½ tablespoon vanilla extract, and corn starch and gently mix until well blended.
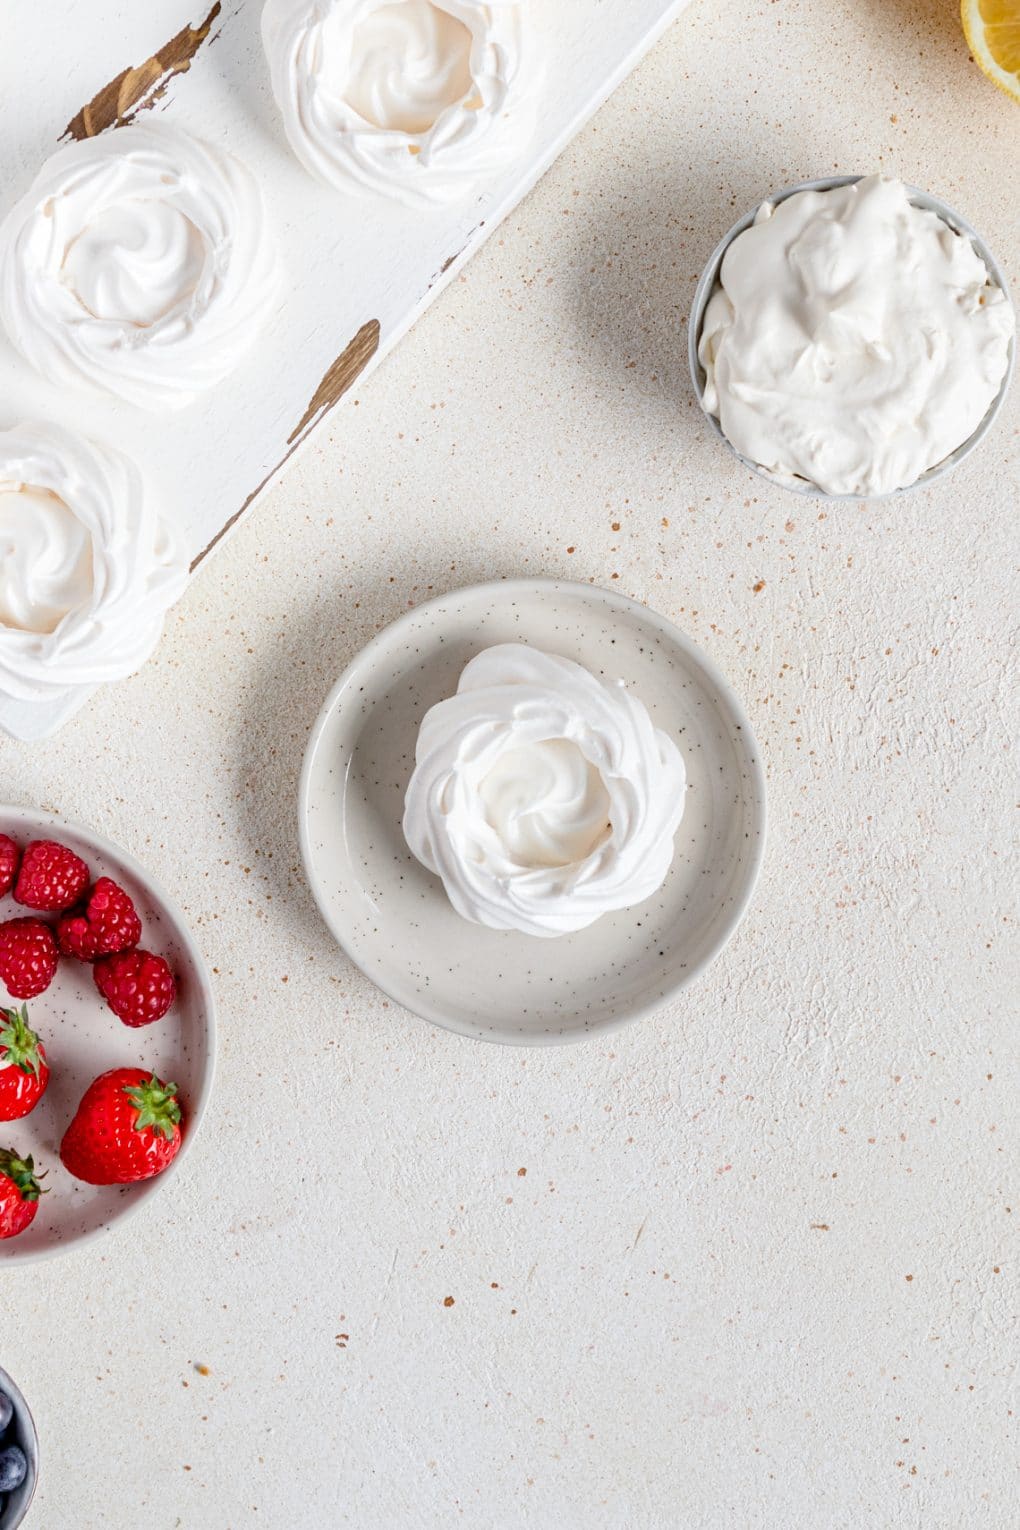
- Using a frosting bag and a wide-mouthed tip, pipe the meringue into 3-inch wide nests onto the lined baking sheet. I recommend using a 1M star tip for an elegant look. (See notes below if you do not have a piping set)
- Using a spoon, make an indention in the center of each nest.
- Bake for 1 hour and 15 minutes, then turn the oven off and let them sit in the oven until completely cooled, do not open the oven for about 3-4 hours.
- Once completely cooled, remove from the oven and transfer to your serving platter.
- Make the homemade whipping cream by adding the whipping cream, powdered sugar, and 1 tsp. pure vanilla extract to a large bowl. Mix on low with a hand mixer until combined, then increase the speed to medium-high and mix until thickened and stiff peaks form.
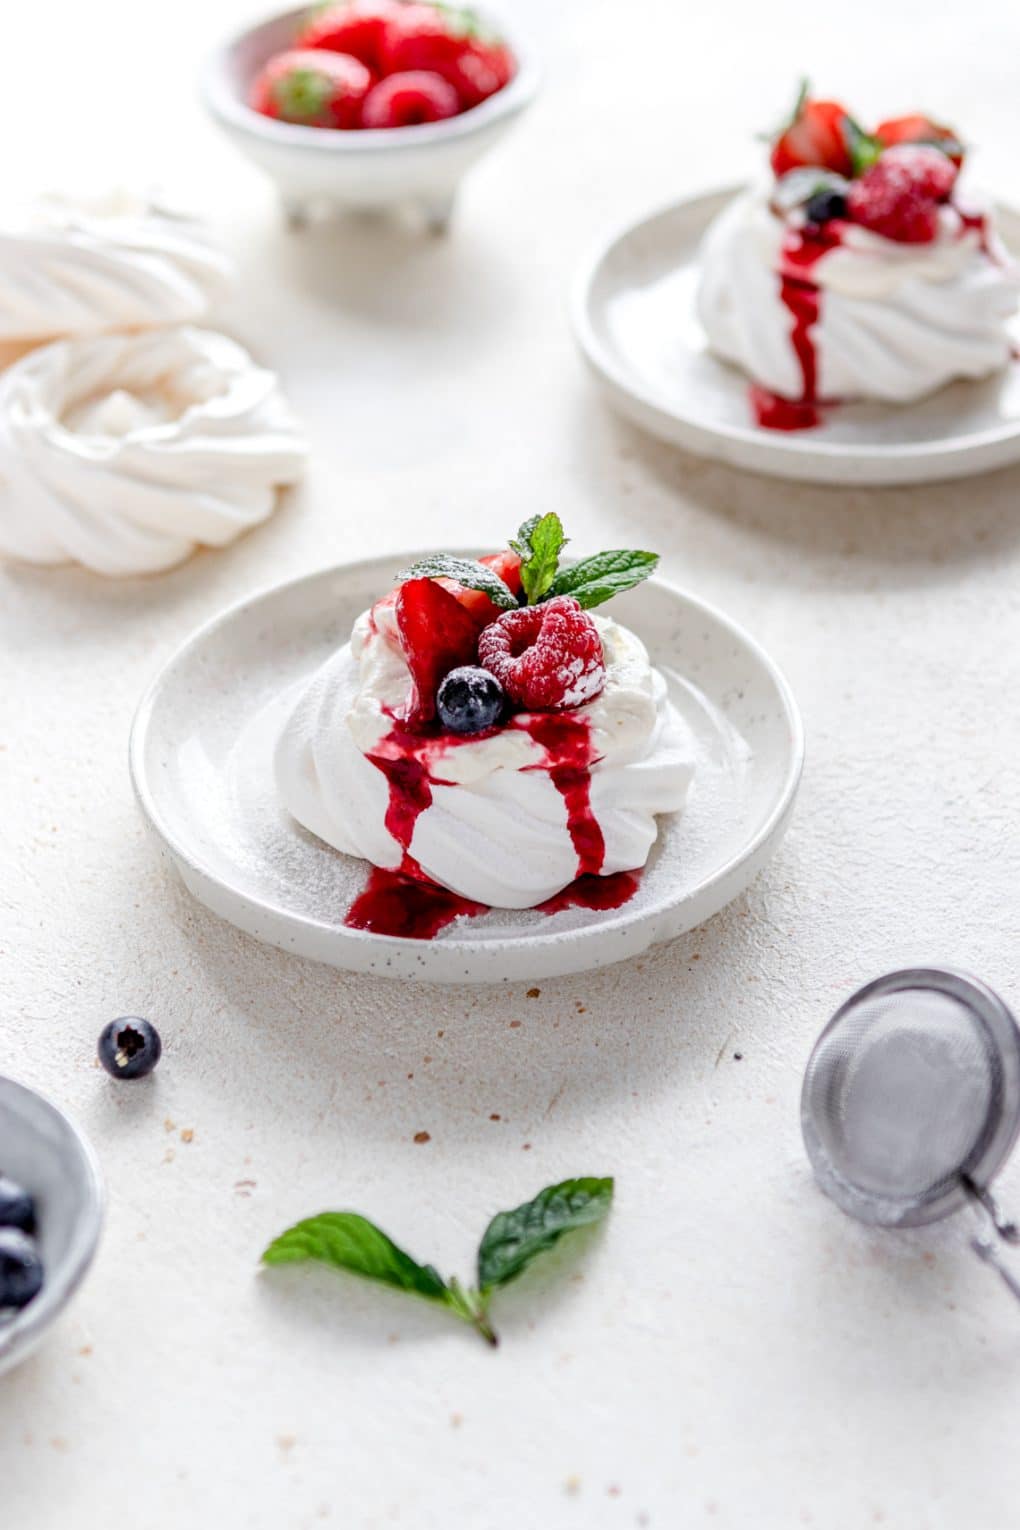
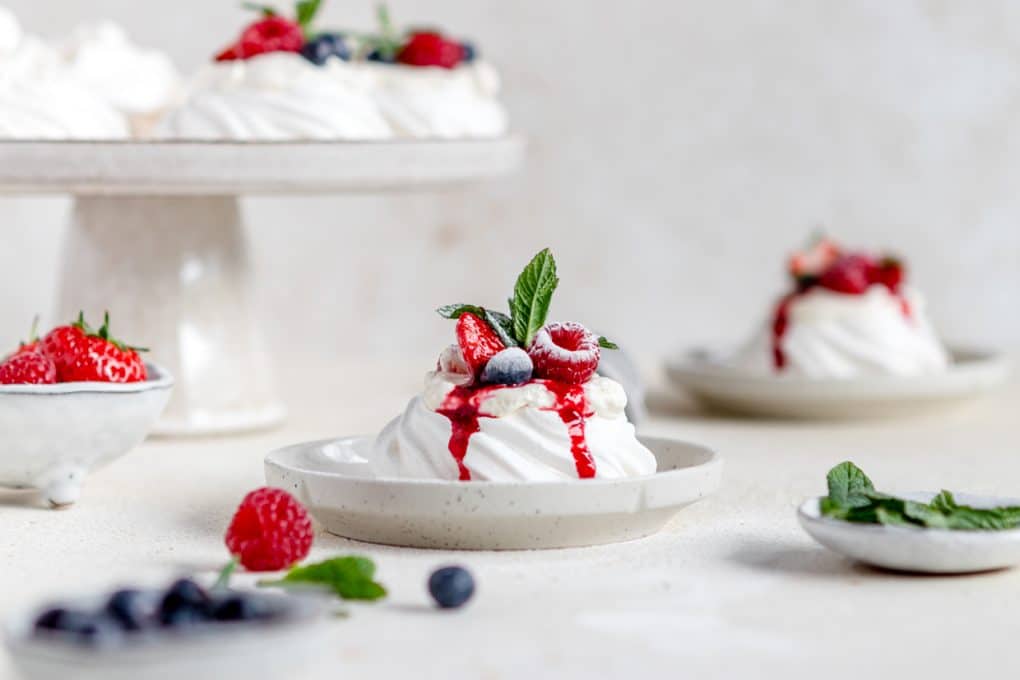
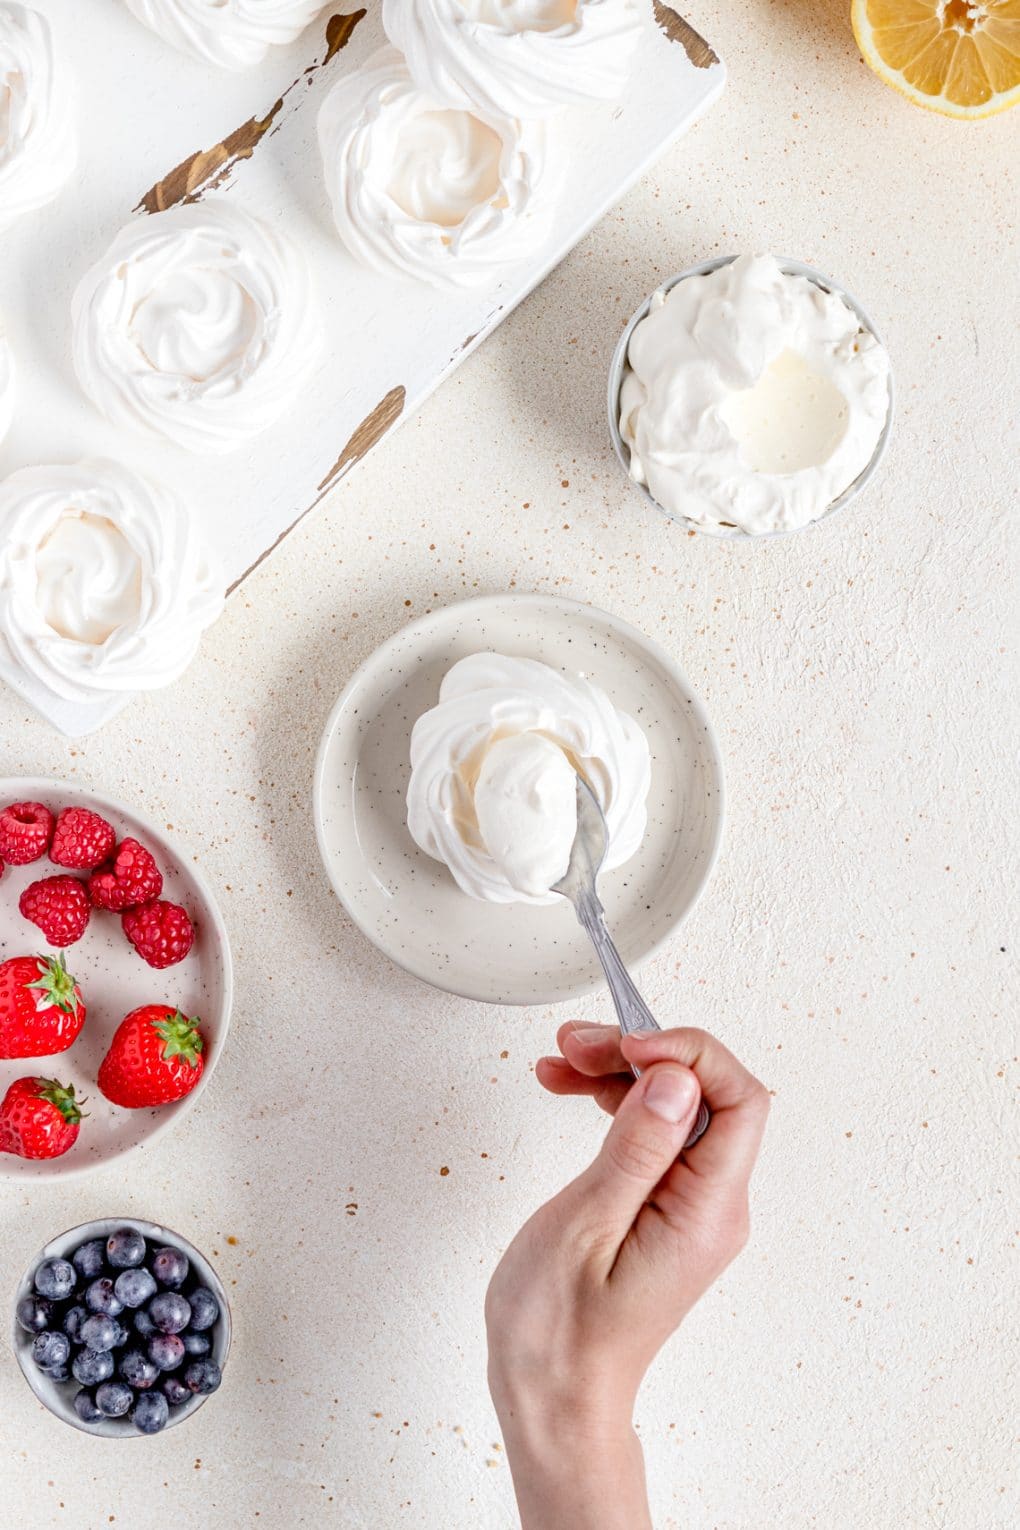
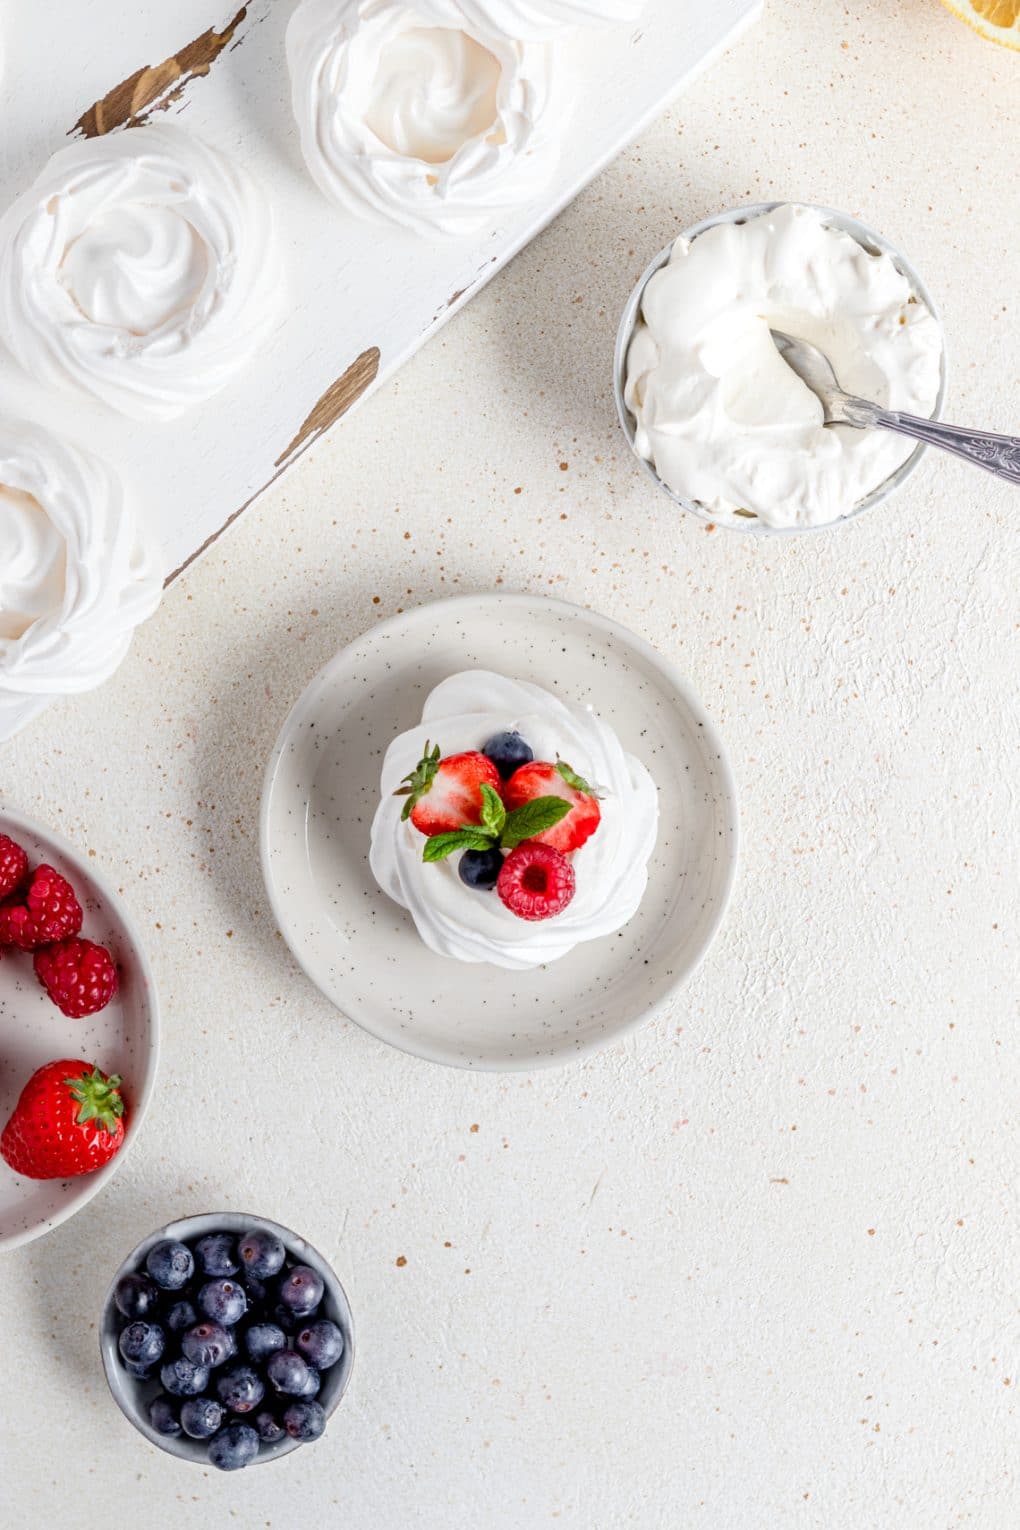
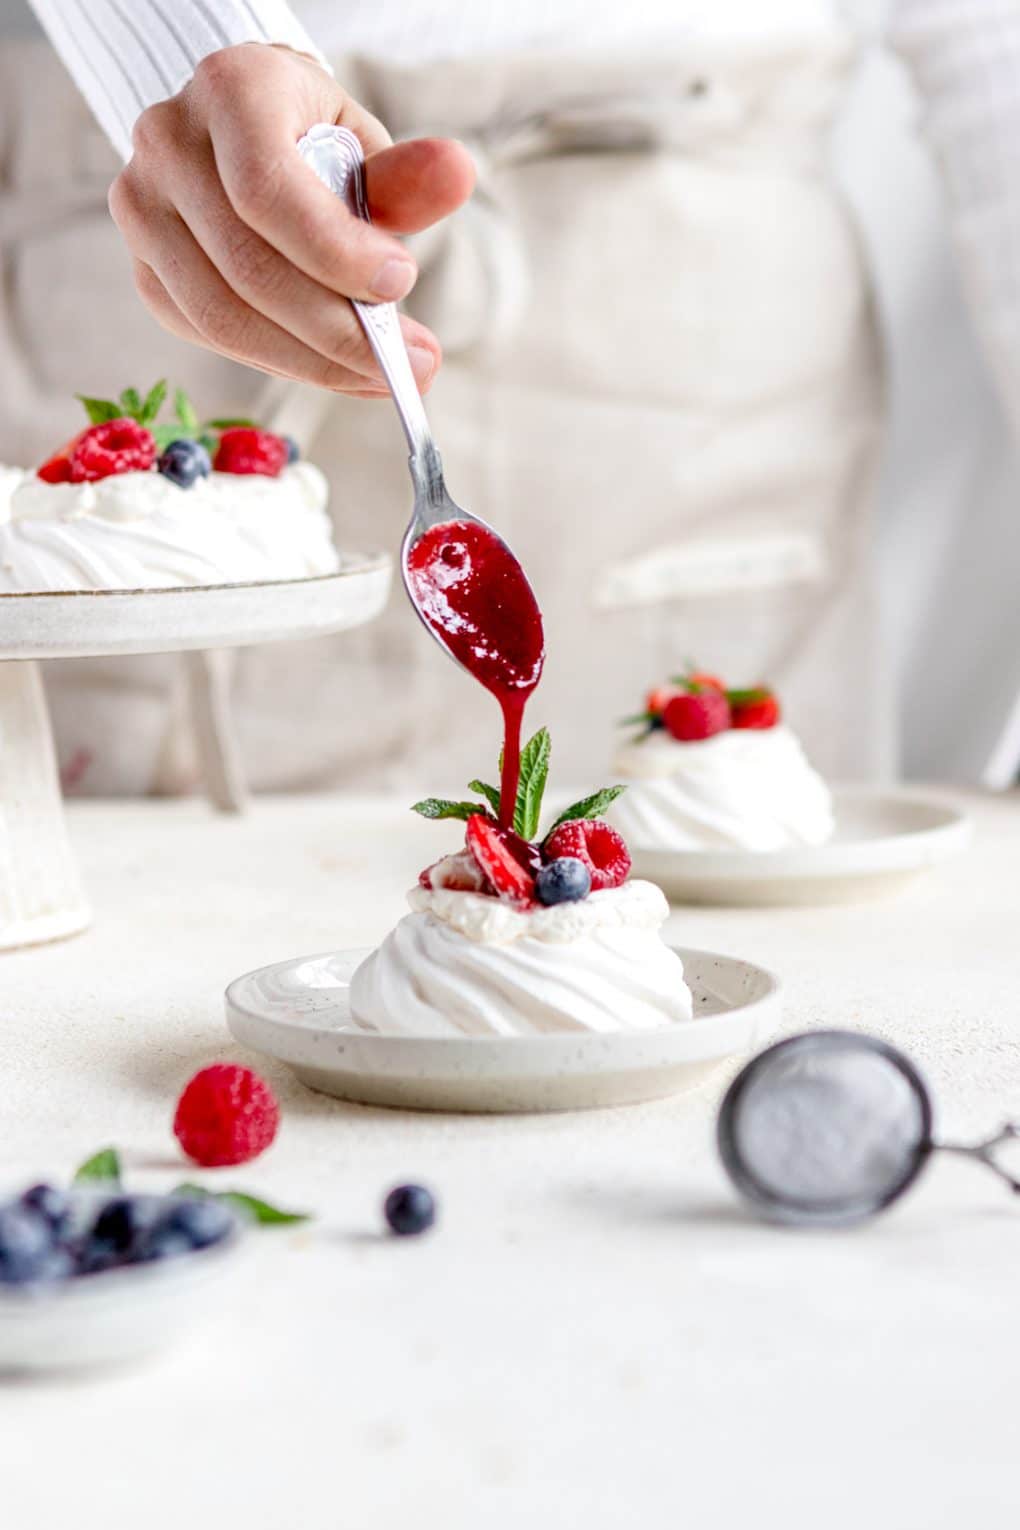
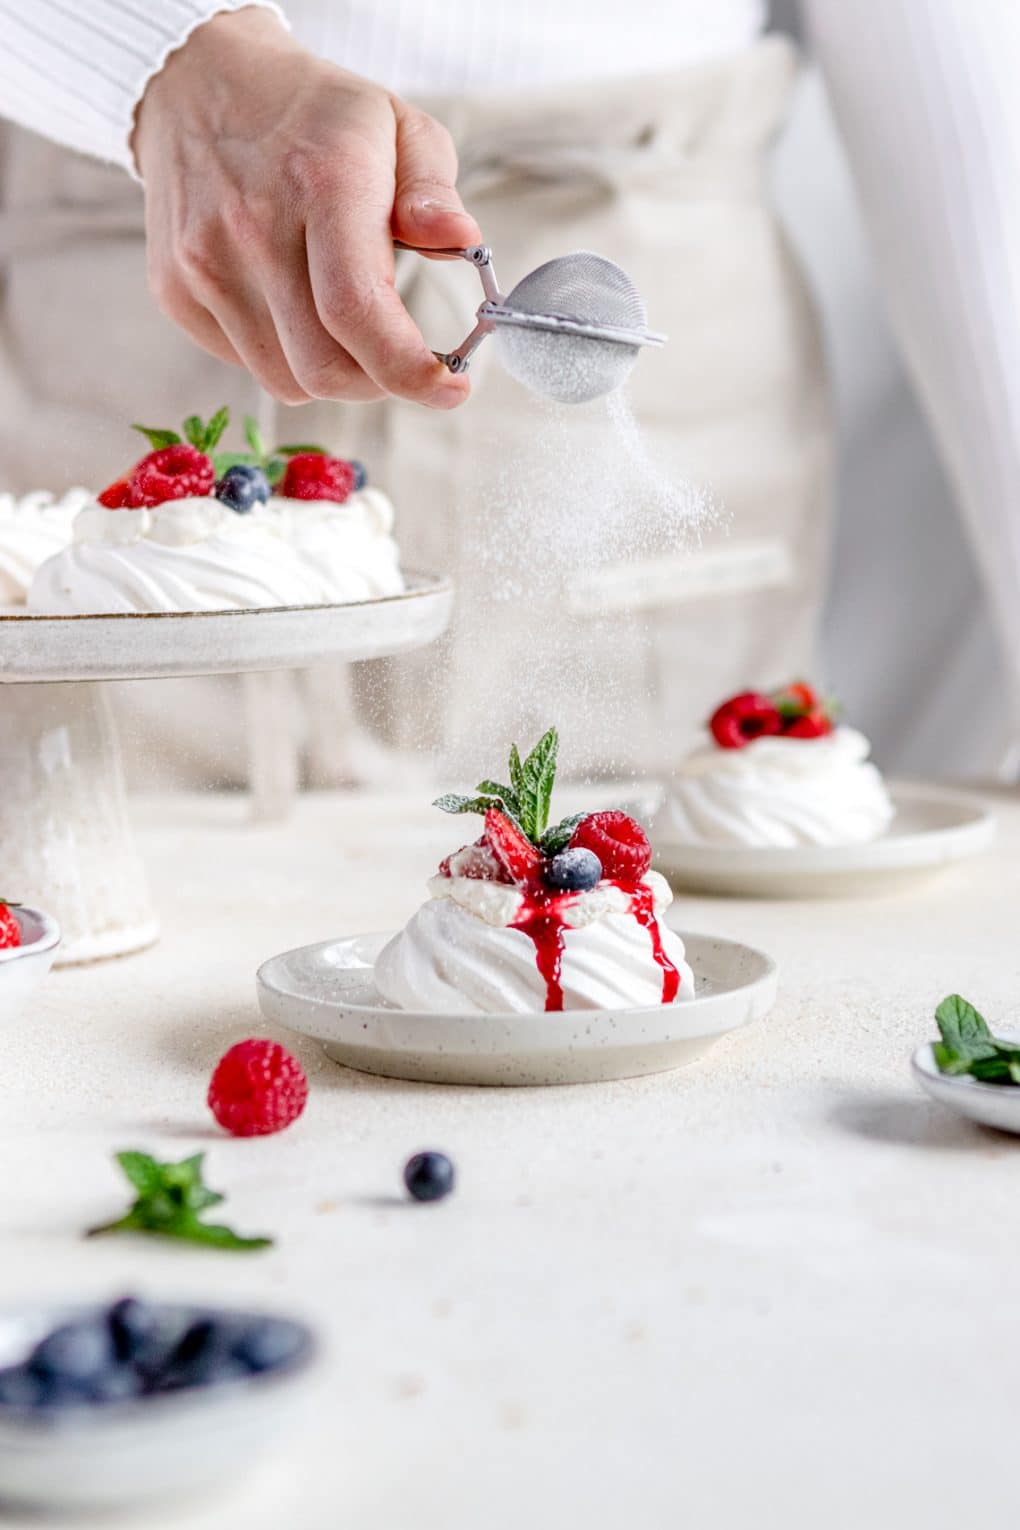
- Fill each mini pavlova with fresh whipping cream, top with fresh fruit (i.e., sliced strawberries and fresh blueberries), garnish with a fresh mint leaf, and serve immediately.
Recipe FAQs and Notes
What does the name Pavlova mean?
It basically means meringue which is what this dish is very similar to in taste and texture. I think it’s a bit sweeter than meringue which is why I’m drawn to it more.
Can you freeze this dessert?
You can. You can pop it in the freezer and use that as a way to preserve them a bit longer. Be certain to keep them in an airtight bag and keep them away from everything else because they’re fragile.
How do you know when they’re done baking?
They shouldn’t be soft to the touch at all. If they’re hard, they’re done baking.
Recipe notes
- If you do not have a stand mixer, you can mix with a hand mixer following the same mix times.
- If you do not have a piping kit, simply spoon the meringue into a 3-inch wide nest and follow the directions from there.
Recommended kitchen resources for this recipe
Wanderlust and Wellness participates in the Amazon affiliate program. Please see my affiliate disclaimer. As an Amazon Associate, I earn from qualifying purchases.
Enjoy these other mini dessert recipes
Mini Pavlovas Recipe
Mini Pavlovas
Mini Pavlovas are a gorgeous party dessert; meringue nests filled with fresh cream and berries. Your guests are going to love these mini desserts!
Ingredients
- 6 large egg whites, room temperature
- 1 ½ cups granulated sugar
- ½ Tbsp. lemon juice
- ½ Tbsp. + 1 tsp. pure vanilla extract - divided
- 2 tsp. corn starch
- 1 cup heavy whipping cream - cold
- 2 Tbsp. powdered sugar
- Fresh mint leaves - optional
Instructions
- Preheat the oven to 200 degrees F.
- Line a large baking sheet with parchment paper or a baking mat.
- Add the eggs (be sure they’re room temperature) to a stand mixer bowl. Beat the eggs on high for about 1 minute, with the whisk attachment, until soft peaks form. (See notes below if you do not have a stand mixer.)
- Keeping the mixer on, gradually add in the granulated sugar, a little at a time. Once all sugar has been added, mix for 10 minutes at high speed or until stiff peaks form.
- Remove the bowl from the stand. Then, using a spatula, fold in the lemon juice, ½ tablespoon vanilla extract, and corn starch and gently mix until well blended.
- Using a frosting bag and a wide-mouthed tip, pipe the meringue into 3-inch wide nests onto the lined baking sheet. I recommend using a 1M star tip for an elegant look. (See notes below if you do not have a piping set)
- Using a spoon, make an indention in the center of each nest.
- Bake for 1 hour and 15 minutes, then turn the oven off and let them sit in the oven until completely cooled, do not open the oven for about 3-4 hours.
- Once completely cooled, remove from the oven and transfer to your serving platter.
- Make the homemade whipping cream by adding the whipping cream, powdered sugar, and 1 tsp. pure vanilla extract to a large bowl. Mix on low with a hand mixer until combined, then increase the speed to medium-high and mix until thickened and stiff peaks form.
- Fill each mini pavlova with fresh whipping cream, top with fresh fruit (i.e., sliced strawberries and fresh blueberries), garnish with a fresh mint leaf, and serve immediately.
Nutrition Information:
Yield: 12 Serving Size: 1Amount Per Serving: Calories: 181Total Fat: 7gSaturated Fat: 5gTrans Fat: 0gUnsaturated Fat: 2gCholesterol: 22mgSodium: 34mgCarbohydrates: 28gFiber: 0gSugar: 27gProtein: 2g
The recipes included on this website are written and produced for informational purposes only. I am not a certified nutritionist or medical professional, and the nutritional data on this site have not been evaluated or approved by a nutritionist, registered dietician ,or other medical professionals.

Jennifer is the recipe developer and food photographer behind Wanderlust and Wellness since 2016. She creates easy, approachable gluten-free recipes for the everyday home cook; because cooking gluten-free doesn’t mean food has to be complicated or tasteless.

I can’t wait to try this recipe! Many many years ago I had the most delicious pavlova at a quaint tea house for lunch and your recipe has brought back such wonderful memories. I always thought it would be too difficult to try to make pavlova myself, but your recipe certainly looks like something I could make! Thank you so much for taking the time to post this!
How early can the Mini Pavlovas be made, before serving? I know you state that they can be frozen, but I was thinking about making the pavlova shells the day before they are served. Then do the filling before being serving. Love your recipes..
You can make the meringue portion 1-2 days ahead of time and store them in an airtight container. You can make the filling one day ahead. But, do not fill until just before serving.